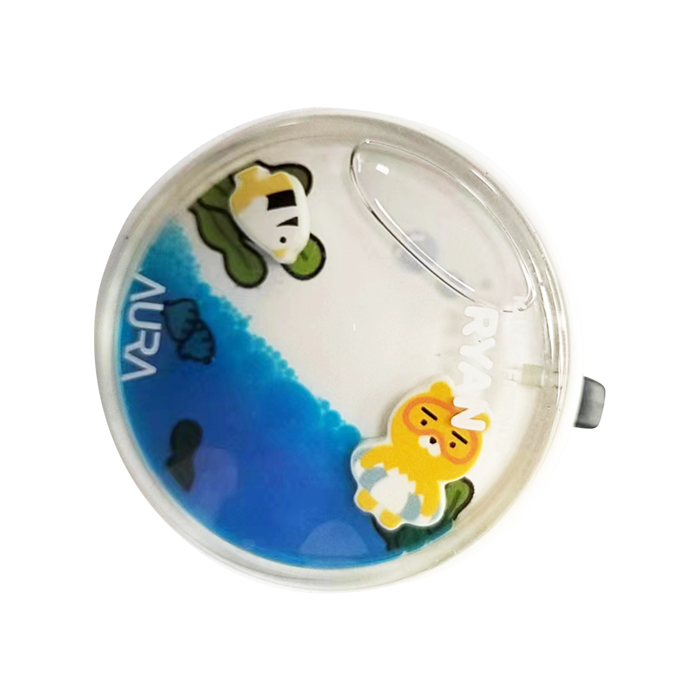
The first step is to design the shape and style of the doll. This can be done through hand drawing, 3D modeling, and other methods. At the same time, it is necessary to choose materials suitable for making dropper ornaments, such as resin, Silicone Material, etc. The second part is to make corresponding molds based on the designed shape of the doll. The mold can be made of metal, plastic, or silicone material, depending on the production requirements and budget. The third part is to mix Drip glue material in a certain proportion, usually including resin and curing agent. Ensure even mixing to avoid affecting the quality of the finished product. The fourth step is to inject the prepared adhesive material into the mold, being careful not to inject too much to prevent overflow. Be careful to ensure that the dripping glue is evenly distributed within the mold. The fifth step is to allow the dripping glue injected into the mold to naturally cure at room temperature. The curing time depends on the adhesive material used and the ambient temperature. After the adhesive is completely cured, remove the doll from the mold. Make necessary adjustments to the doll, such as removing excess edges, polishing the surface, etc. The sixth step is to color and decorate the doll as needed. This can be achieved through hand drawing, spray painting, stickers, and other methods. Install the necessary accessories for the doll, such as a base, hanging ropes, etc., to secure it inside the car. Finally, quality inspection should be conducted on the produced dropping glue ornaments Names to ensure they are flawless. Then package it in an appropriate packaging box or bag for sale and transportation.